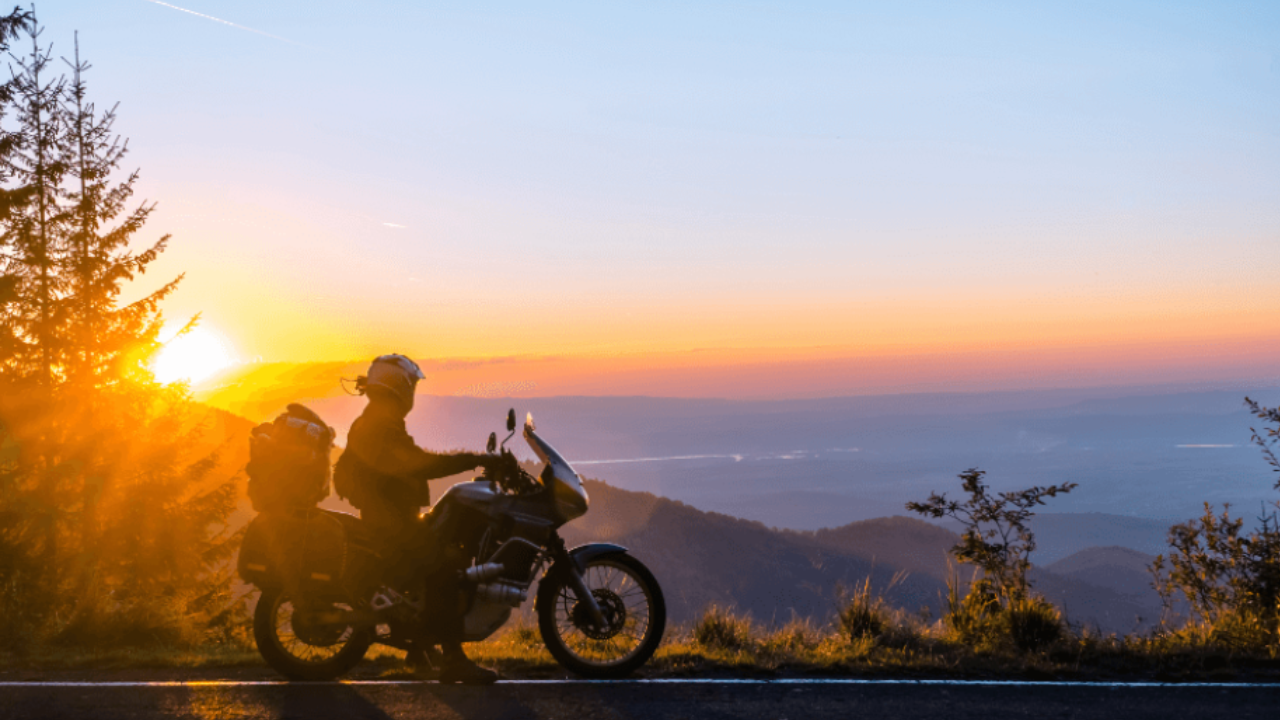
Preparing for a long motorcycle tour is different from packing for any other kind of trip. Space is limited, weight matters, and everything you bring needs to serve a purpose. The right packing strategy allows you to stay comfortable, prepared, and organized without overloading your bike or disrupting its balance.
Experienced touring riders quickly learn that smart packing is not about bringing more gear — it’s about bringing the right gear and organizing it in a way that supports the ride. A well-packed motorcycle lets you access essentials easily, maintain stable handling, and stay ready for changing conditions on the road.
In this guide, you’ll learn practical packing strategies used by experienced riders, what gear to bring on long trips, and how to organize luggage so your motorcycle remains safe and comfortable for multi-day travel.
Why Packing Matters for Motorcycle Touring
When traveling by motorcycle, the way you pack affects far more than convenience. Improperly packed luggage can change the bike’s center of gravity, increase fatigue, and even create safety issues at highway speeds.
Some of the most common packing challenges riders face include:
-
Limited storage capacity
-
Uneven weight distribution
-
Difficulty accessing frequently used items
-
Carrying unnecessary gear
-
Packing for changing weather conditions
Solving these problems begins with choosing the right luggage systems and developing a consistent packing strategy.
Many touring riders rely on luggage systems from companies like Viking Bags, which design saddlebags and storage systems specifically for long-distance riding.
The Minimalist Mindset: Pack What You Actually Need
One of the biggest mistakes new touring riders make is packing too much gear. Overpacking increases weight, reduces available space, and makes it harder to find essential items during the ride.
A good rule of thumb is to pack gear that falls into four main categories:
-
Riding gear
-
Clothing
-
Tools and maintenance supplies
-
Personal essentials
If an item doesn’t clearly fit into one of these categories or serve a specific purpose on your trip, it may not need to come along.
Experienced riders often aim to pack gear that serves multiple purposes whenever possible.
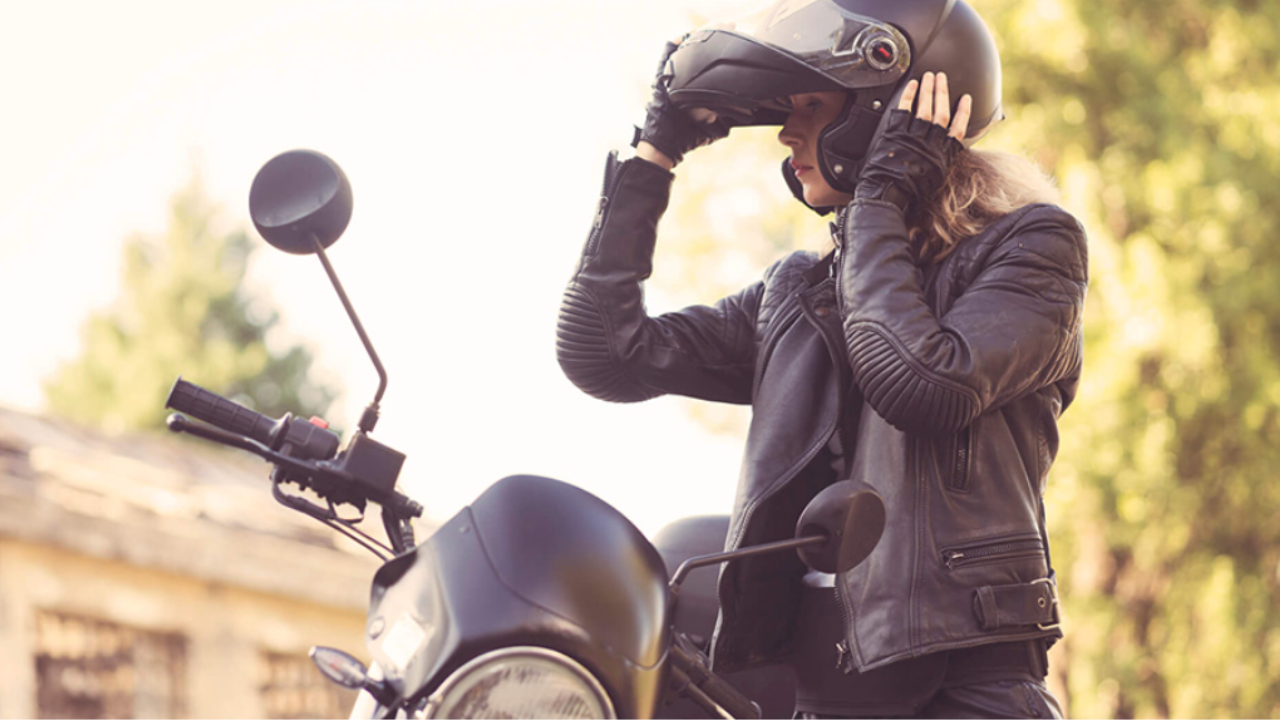
Essential Riding Gear to Pack
Your riding gear is the first layer of protection and comfort during a long trip. Weather conditions can change quickly, especially when traveling across different elevations or regions.
Key riding gear to pack includes:
-
Extra riding gloves
-
Rain gear or waterproof outer layer
-
Thermal base layers for cold temperatures
-
Neck gaiter or balaclava
-
Spare visor or anti-fog insert
Touring jackets and pants from brands like Alpinestars often include removable liners and ventilation systems, which reduce the need to pack multiple jackets.
This type of modular riding gear is ideal for long trips because it adapts to temperature changes without adding unnecessary bulk.
Clothing for Multi-Day Trips
When space is limited, clothing must be packed strategically.
Instead of bringing a full wardrobe, focus on versatile items that can be layered and reused.
A typical packing list might include:
-
2–3 moisture-wicking shirts
-
1 lightweight fleece or mid-layer
-
2 pairs of riding socks
-
Casual clothes for evenings or rest stops
-
Compact rain shell
Many touring riders pack clothing in compression bags to reduce volume and keep items organized.
Choosing fabrics that dry quickly also allows you to wash and reuse clothing during longer trips.
Tool Kits and Maintenance Gear
Even the most reliable motorcycles can experience mechanical issues on long rides. Carrying a small tool kit allows you to handle basic maintenance tasks or roadside fixes.
Essential tool kit items often include:
-
Tire repair kit
-
Compact air pump or CO₂ cartridges
-
Multi-tool or small wrench set
-
Spare fuses
-
Electrical tape or zip ties
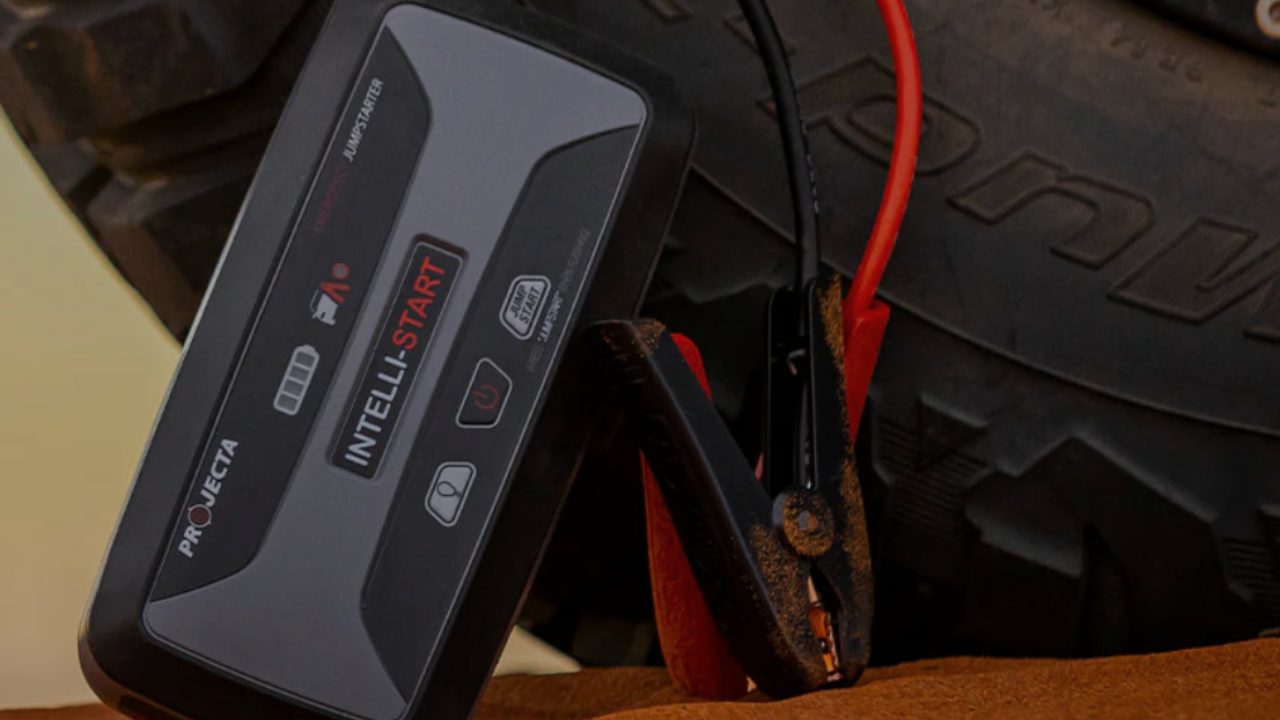
Battery performance can also be affected by weather and extended use of electronics. Chargers and power management tools from Projecta help riders maintain reliable electrical systems during long trips.
Keeping these tools stored in a consistent location makes them easy to find when needed.
Organizing Motorcycle Luggage
Once you know what to pack, the next step is organizing everything in a way that keeps your motorcycle balanced and easy to access.
Most touring setups rely on three primary luggage areas:
Saddlebags
Saddlebags hold the bulk of your gear and should carry heavier items such as clothing, tools, and spare equipment.
Quality luggage systems like those from Viking Bags are designed to maintain a low center of gravity and prevent shifting during long rides.
Heavier items should be packed toward the front of the saddlebags to maintain stability.
Tank Bags
Tank bags sit directly on top of the fuel tank and are ideal for items you need to access frequently.
Common items stored in tank bags include:
-
Phone or GPS device
-
Wallet and documents
-
Sunglasses
-
Snacks
-
Maps
Because tank bags are easy to access during fuel stops, they are perfect for storing small essentials.
Tail Bags or Top Cases
Tail bags and top cases provide additional storage for lighter gear.
These compartments are often used for:
-
Rain gear
-
Extra layers
-
Camera equipment
-
Small electronics
Because they sit higher on the bike, it is best to avoid placing heavy items in this area.
Weight Distribution and Motorcycle Stability
Proper weight distribution is critical for maintaining safe handling.
When packing your motorcycle:
-
Keep heavier items low and close to the bike’s center
-
Balance weight evenly between left and right saddlebags
-
Avoid stacking heavy gear high on the rear rack
A poorly balanced motorcycle can feel unstable during cornering, braking, or crosswinds.
Taking time to test your packing setup before a long trip helps ensure the bike handles predictably once fully loaded.
Keeping Essentials Within Reach
One of the most common frustrations during touring is needing to dig through luggage for frequently used items.
Experienced riders solve this problem by creating an “easy access zone” within their luggage.
Items commonly placed in quick-access pockets include:
-
Snacks and hydration
-
Phone charger cables
-
Sunscreen
-
Earplugs
-
Spare gloves
Keeping these items readily available prevents unnecessary unpacking during short stops.
Navigation and Communication Tools
Modern touring riders rely heavily on navigation tools and communication systems to stay organized and connected on the road.
Helmet communication systems from Cardo Systems allow riders to:
-
Receive GPS directions
-
Communicate with riding partners
-
Listen to navigation alerts
These tools are especially useful when traveling through unfamiliar areas or coordinating group rides.
Charging cables and backup batteries should also be included in your packing plan.
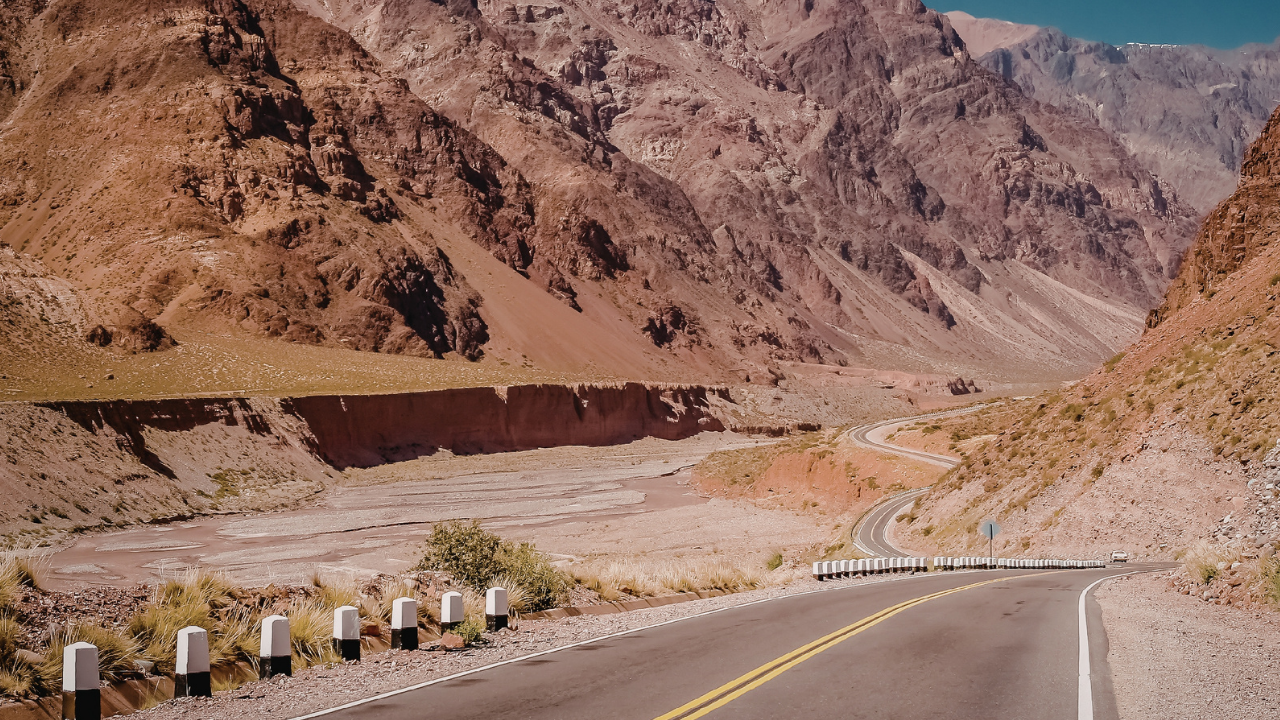
Preparing for Weather Changes
Long rides often expose riders to multiple climate zones in a single trip. Even summer tours can include cold mornings, rainstorms, or strong winds.
Smart packing includes gear that helps you adapt quickly.
Consider bringing:
-
Compact rain gear
-
Lightweight thermal layers
-
Waterproof glove covers
-
Neck warmer
Many riders also keep rain gear at the very top of their luggage so it can be deployed quickly when conditions change.
Packing for Cold-Weather Riding
Cold temperatures require additional preparation.
Layering systems, thermal gloves, and windproof outer layers can make long rides far more comfortable in cooler climates.
Retailers like RevZilla publish extensive guides on cold-weather riding gear and equipment that touring riders can use to prepare for changing temperatures.
Packing a small thermos with hot drinks can also make a big difference during cold rest stops.
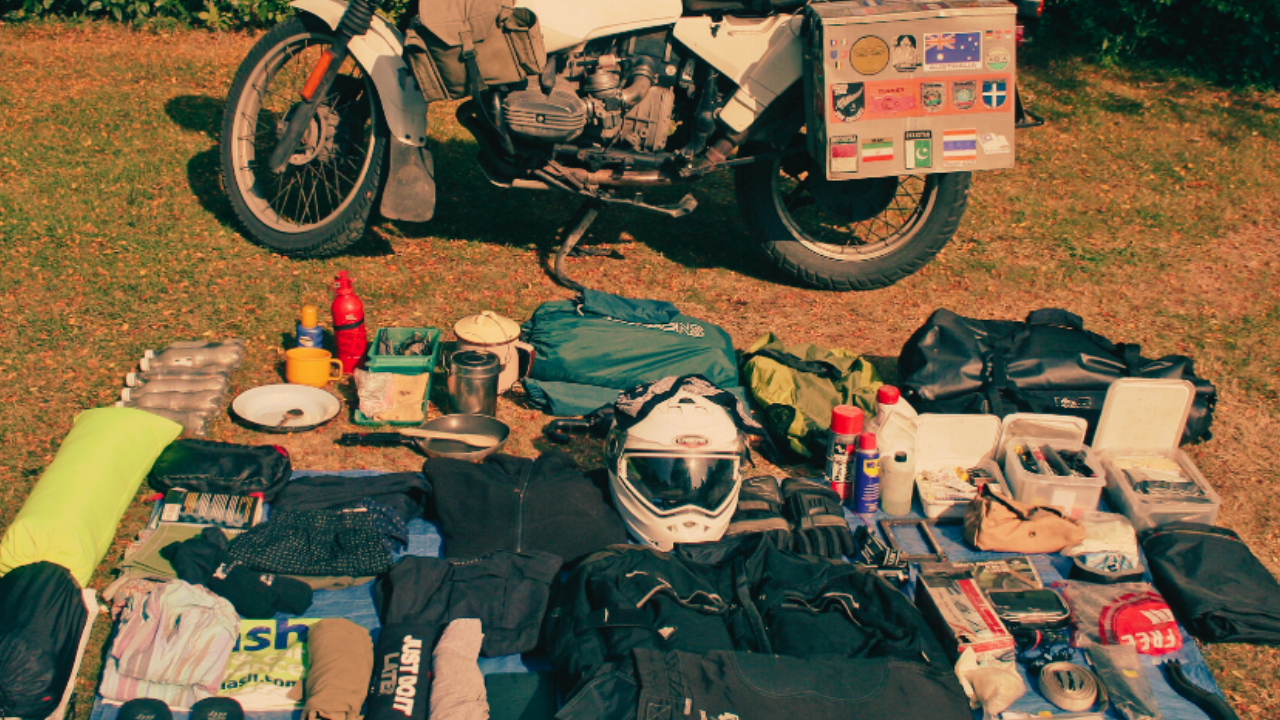
A Real-World Packing Example
Imagine preparing for a five-day motorcycle tour through mountain roads and coastal highways.
Your packing setup might look like this:
Left Saddlebag
-
Clothing in compression bag
-
Casual shoes
-
Rain gear
Right Saddlebag
-
Tool kit
-
Tire repair kit
-
Spare gloves
Tank Bag
-
Phone and charger
-
Wallet and documents
-
Snacks
Tail Bag
-
Thermal layers
-
Camera
-
Lightweight jacket
With this setup, your motorcycle remains balanced while all essential items remain organized and easy to access.
Packing Tips from Experienced Touring Riders
Over time, riders develop packing habits that make long trips much easier.
Some of the most useful tips include:
-
Pack once and ride locally to test your setup
-
Use packing cubes or compression bags to organize clothing
-
Keep emergency gear in the same place every trip
-
Avoid packing items “just in case” unless they are critical
-
Repack each morning so your luggage stays organized
The goal is to create a packing system that becomes second nature every time you prepare for a ride.
Final Thoughts
Motorcycle touring requires a balance between preparation and simplicity. The most effective packing strategies focus on essential gear, smart organization, and maintaining proper weight distribution on the bike.
By choosing quality luggage systems from brands like Viking Bags, packing versatile riding gear from Alpinestars, carrying reliable power tools from Projecta, and using navigation and communication systems like Cardo, riders can create a touring setup that supports comfort and safety throughout the journey.
Thoughtful packing allows you to focus on what motorcycle touring is really about — the open road, the landscapes ahead, and the freedom of traveling mile after mile on two wheels.